So, you’ve decided to tune the trigger of your gun. What do you do to make sure it’s done in the best possible way?
Follow the next instructions and you will succeed.
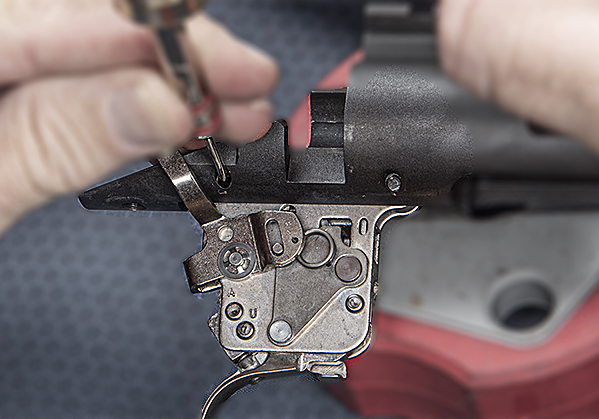
To remove the adjusting screws and springs, first, take out the “Trigger Adjusting Screw” – be cautious of the small ball bearing that might come flying out with the spring.
Next, most of the time Remington fills up the screw holes with wax or something similar. Gently dig around until you expose both screw heads and trigger adjusting screw stake.
You should then use lighter fluid to completely clean out the oil, grease, and other waste. If you have some aerosol brake cleaner, go ahead and blast it with that first. Then apply some lighter fluid. Give it a good soaking while you’re at it. Do not oil the trigger; the lighter fluid will take care of that.
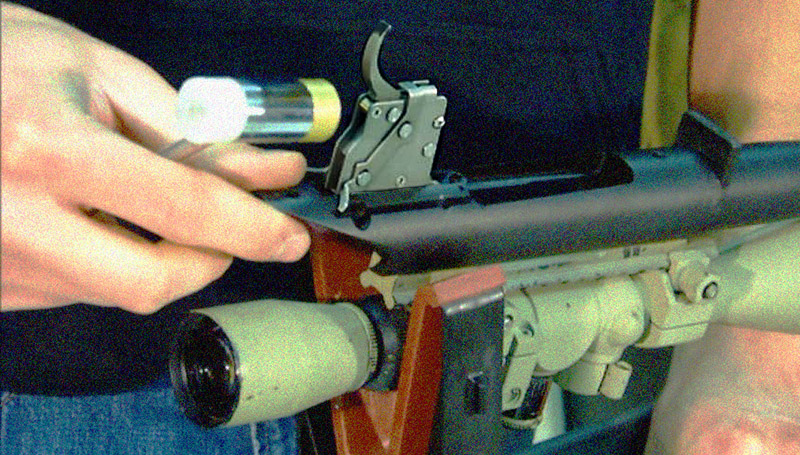
You may put a little oil on the screws and springs after you’ve cleaned it. Let’s start with the trigger adjusting screw, spring, and bearing. First, insert the trigger adjusting screw, spring, and bearing into the gun. Set it so that the bearing just barely fits in the chamber. Now insert an empty case into the chamber and close the bolt. It should remain cocked after doing this process twice.
Now put in the trigger engagement screw and slowly tighten until the sear releases and the firing pin drops. Now try backing out this screw 1/3 turn. Re-cock the bolt and see if the sear stays engaged. You can also check whether or not it is staying engaged by looking through a hole at the top center of the trigger.
If the firing pin falls when you close the bolt, back out one-quarter turn and try again.
Now let’s look at the weight of pull. If it’s still way too heavy, you might consider removing a coil from the spring.
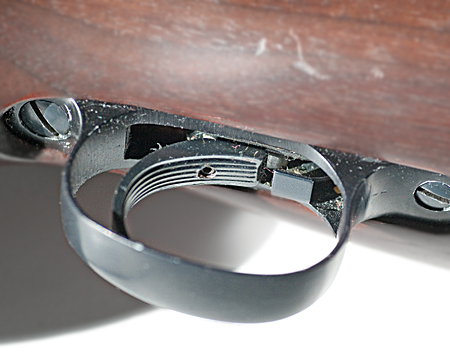
Make sure the trigger does not protrude too far and that it returns readily! Insert the trigger stop screw now and set it so that there is minimal overtravel after the sear releases. (Insert till it’s tight, then back out 1/4 turn)
Now go back and fine-tune (readjust) the trigger engagement screw; you may even be able to turn it in a little.
Always test your gun before use by doing ‘Thump and Bump’ tests. Make sure to do these with the safety on and off, cocking the bolt between each test. This will ensure that it does not slam fire. Be safe – TEST – and TEST again!
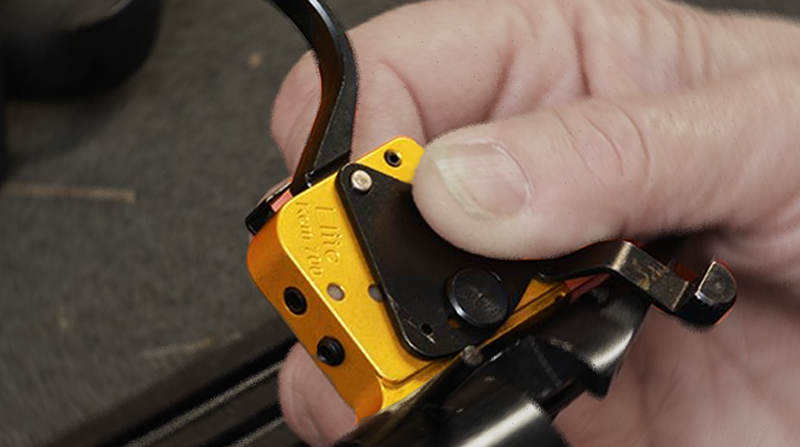
You Should Upgrade Your Remington 700 40x Trigger entirely!
The trigger is one of the most critical components of a weapon, and it is usually the first component that gunsmiths change. Factory triggers that are mass-produced fulfill all safety, fit, and operating standards set by manufacturers, but they aren’t always the best quality available. Common manufacturing flaws, like burrs and rough surfaces on triggers, can make them very hard to use. More often than not, it is more convenient and cost-effective to replace the factory trigger entirely.
So, what to consider when buying a replacement trigger unit?
1. Quality and Durability
The internal components of a Remington 700 40x replacement trigger are corrosion and rust-resistant, as they are exposed to the elements. Examine whether it’s nickel-plated or made of aluminum. These extra features will ensure that the trigger lasts.
2. Weight
All aftermarket Remington 700 40x triggers come in a range of weights that you can adjust. The trigger’s weight refers to the amount of pressure required to pull the trigger and shoot the gun.
Some Remington owners say that the trigger only malfunctions when people fiddle with the weight, without knowing how to properly do so. If you’re in doubt, it’s best to replace the factory trigger entirely or take it to a gunsmith.
3. Style
If you are unfamiliar with taking guns apart and putting them back together, then a drop-in style trigger will work best. Drop-ins are a convenient way to quickly fix the trigger. But if changing a trigger is not something you feel comfortable doing, then finding a qualified gunsmith would be the best course of action.
There are a few ways that you can adjust the trigger on your Remington 700 40x.
One is to remove the bolt and use a screwdriver to adjust the screws on the side of the trigger housing.
Another way is to remove the barrel and use a hex key to adjust the screw on top of the trigger housing.
The third way is to use an Allen wrench to loosen the screws in the butt stock, and then pull out on the trigger assembly. Once it’s loose, you can adjust the screw on top of the housing with a hex key.
Be careful not to lose any of these small parts!
To adjust the Remington 700 40x trigger, first, ensure the rifle is unloaded and remove the bolt. With a small screwdriver or Allen wrench, turn the adjustment screw on the rear of the trigger until it feels just right. Replace the bolt and test it out at the range. Remember to always keep your firearms unloaded until you’re ready to use them!


